Table of Contents
A garage door torsion spring replacement is undeniably a very difficult task.
Since the garage door springs are under heavy tension, simply removing them is a challenge.
Hence, homeowners should not take matters like this into their own hands.
A garage door repair in Seattle is needed for this kind of task.
However, there are some who might have the experience as well as expertise when it comes to spring replacement.
As such, this article aims to provide information on how to replace your garage door torsion springs.
Given that, here is what you need to know about garage door torsion spring replacement:
Step 1:
You will need the following tools or materials first:
- Two winding bars
These will lend you a hand in removing the tension from the broken springs and then apply the proper tension needed for the replacements.
- Vice grips
This will help you in keeping the torsion shaft from falling as you begin to remove the broken springs.
- Wrenches
Step 2
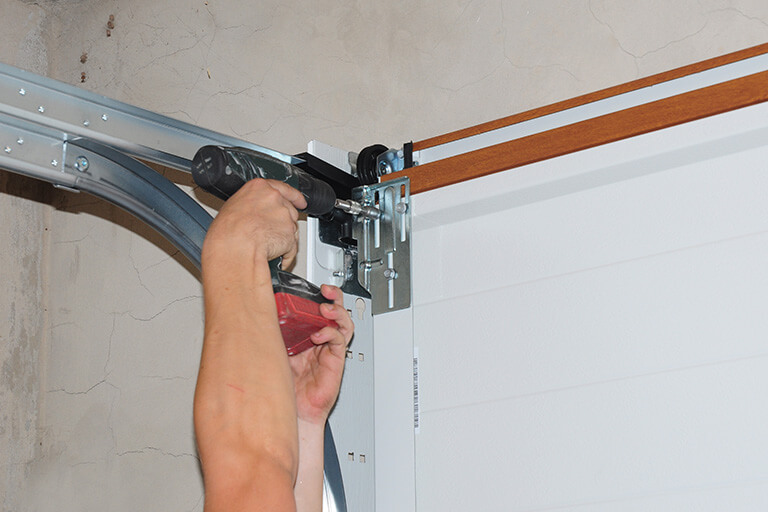
To begin the project, you will need to prioritize your safety first.
Wear some goggles for your own safety and make use of the winding bars in order to loosen the tension on the springs that still have an amount of tension in them.
Step 3
To do this, use the winding bar by placing it in one of the holes that are in the winding cone of the springs.
Release the tension by turning one quarter at a time.
Step 4
Use the wrench to remove the springs from the center cone after you have made sure that the tension left in them has already been released.
The vice grips must be clamped in order to keep the torsion shaft from falling as you remove the old springs.
Afterward, loosen the keys that are on the broken spring.
Then, slide the spring towards the rear then loosen the keys that are on the cable drum then remove the cable itself to slide the drum to the middle of the bar.
Repeat this process on the other side of the overhead door as well.
Step 5
In order to do this, simply slide the shaft to the middle of the door, then take the drum off to slide the springs.
Ensure that the proper torsion spring is used for the left side as well as the right.
If the center bearing is plastic, you can have it replaced only by taking the torsion springs off.
You can upgrade to a commercial steel bearing for the center so you can have a higher cycle rating.
Plus, it prevents the torsion shaft from rubbing with the center bracket.
Simply take the vice grips off from the torsion shaft then fasten the springs to the center bracket.
Step 6
You will need to make about thirty quarter turns for this for a 7ft door, and 33 turns if you have an 8ft door.
Let the winding bar be propped upward after the last turn has been done.
Afterward, fasten the keys by turning about ¾.
Then, wind the cable up at the rear then secure the keys on each of the cable drums.
Finally, push the spring up that has tension using your second winding bar in order to take off the first one.
Place tension on the other spring and then you’re done.
The garage door must be ensured that it can be lifted easily after doing this step.
It can bounce a little as it has a tendency to pull up on its own.
Bear in mind that this project can be a bit dangerous, so you may reach out to a garage door installation in Seattle for help.
ASAP Garage Doors Seattle
Are you looking for a garage door torsion spring replacement?
ASAP Garage Doors Seattle has got your back.
We are a team of garage door professionals that offer quality garage door repair in Seattle, along with other services on garage door installation in Seattle.
For a garage door torsion spring replacement, simply contact ASAP Garage Doors Seattle for a guaranteed service.
We can do the repairs for you!
Do not hesitate to reach out to us for any garage door problems.
Contact us today!