Table of Contents
Repairs, every once in a while, are necessary when it comes to appliances and mechanisms inside the house.
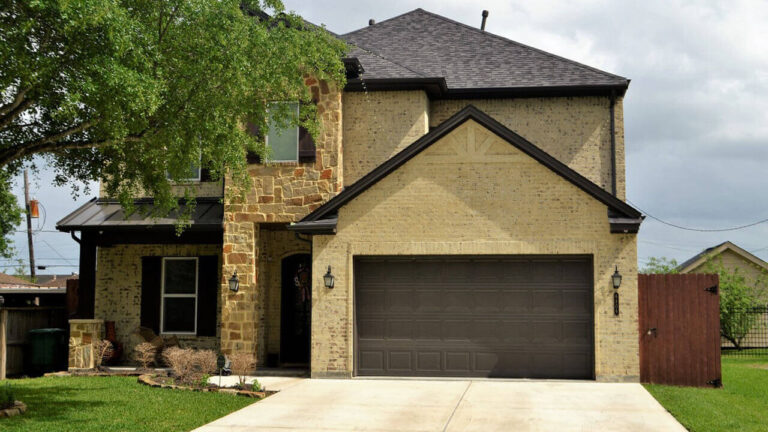
The garage door is not an exception to this.
Garage door springs, in the main, carry a heavy burden, and so can take damages and malfunctions more than any other parts of the door.
Torsion springs are one of the types of springs that are commonly used in garage doors.
When they incur damages, it is essential that a garage door repair in Seattle is called upon.
However, we have steps in this article that will help you know more about garage door torsion spring repair.
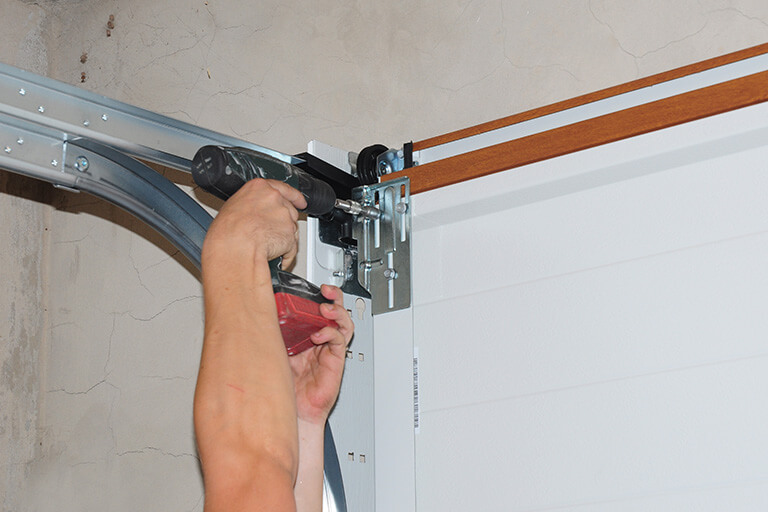
Step One: Preparing the tools and materials.
You need to begin by making sure that the garage door opener is disconnected before starting on the garage door torsion spring repair.
For this, simply unplug the opener from the door by utilizing the release cord and pulling on it.
Then, place a vice-grip into the vertical track, which is positioned above the rollers.
Step Two: Removing and replacing the springs.
If the old springs still have tension left in them, just insert a winding bar into the winding cone.
Then, make use of a socket wrench to remove the setting or the holding screws slowly.
This will then have the tension released on the winding bar.
After, simply remove the tension and stop when the winding bar is now facing the floor and is pressed on the door.
Once done, place the second winding bar to the winding cone, then lift it up to detach the first winding bar.
Simply detach the second winding bar until it has been pointed to the floor.
Make use of the two winding bars in order to remove the tension, by turning it one-quarter at a time.
Bear in mind to be patient and never to place your hand on the springs just to attain stability.
When using the winding bars, keep in mind to place them away from the face and the clothes.
Once have completely unwound the two springs and they now have zero tension, proceed to the removal of the center bolts, which connect the two springs together.
Then, loosen the cable drums and have the cable released.
Pull each drum to the middle of the torsion shaft afterward.
After that has been down, simply file down some screw marks on the shaft.
Pull the shaft out of the rear bracket, then have the cable drum removed, as well as the spring.
Put the new spring on the torsion shaft and ensure that the red winding cone is placed on the garage’s left side.
The opposite spring should have a winding cone that is black.
Just have these steps repeated about seven and eight on the other side.
Step Three: Fastening the torsion springs.
Once the torsion shaft has been placed into its position, simply put the springs again at the center.
Then, place the cable to the cable drum again that is at the left and then let it wind.
Fasten the cable drum on the shaft.
After, use the cable taut to position the vice-grip to the torsion shaft and tighten it against the header.
Put the cable to the cable drum at the right, then run it again and have it fastened onto the shaft.
For your springs, insert the winding bar for the left spring into the cone and have it rotate towards the header.
Place a second winding bar into the cone and then place it against the door.
Simply remove the other winding bar, and then lift it upward for a turn, about a quarter.
You should look into the instruction manual for the specific quarter turns that are required.
If you have a seven-foot door, you need about 31 quarter turns.
However, if you have an eight-foot door, you need 34 turns.
ASAP Garage Doors Seattle
Are you looking for a garage door torsion spring repair?
ASAP Garage Doors Seattle has got your back.
We are a team of garage door professionals that offer quality garage door repair in Seattle, along with other services on garage door installation in Seattle.
For a garage door torsion spring repair, simply contact ASAP Garage Doors Seattle for a guaranteed service.
Do not hesitate to reach out to us for any garage door problems.
Call us now!